Ideas + Inspiration
Make It. Do It. Create It Yourself.
BLACK+DECKER® is your source for every home project from do-it-yourself to lawn and garden care. We’re here to inspire you with recipes, holiday ideas, arts and crafts, and even house cleaning tips for better results with less effort.
Latest Articles
-

Garage Storage Unit
Difficulty: Advanced
Get organised with our clutter-clearing shelving and workbench project.
-

Plant Stand
Difficulty: Intermediate
Put your favourite houseplants on a pedestal with our customisable plant stand project. -

Copper Pipe Shelf
Difficulty: Intermediate
Add a touch of industrial chic to your home with our adaptable shelf project. -

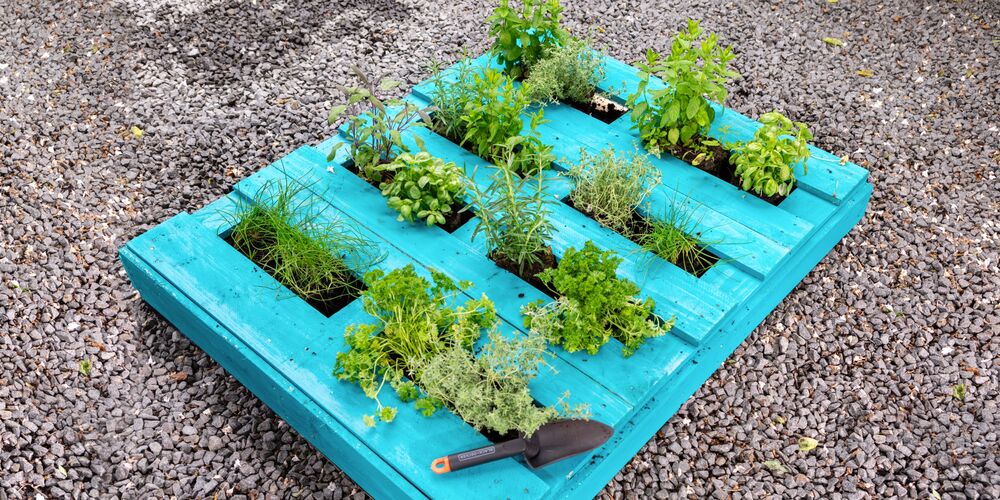
Herb Garden
Skill Level: Beginner
Transform an old pallet into a colourful herb garden with this easy-to-follow project.
-

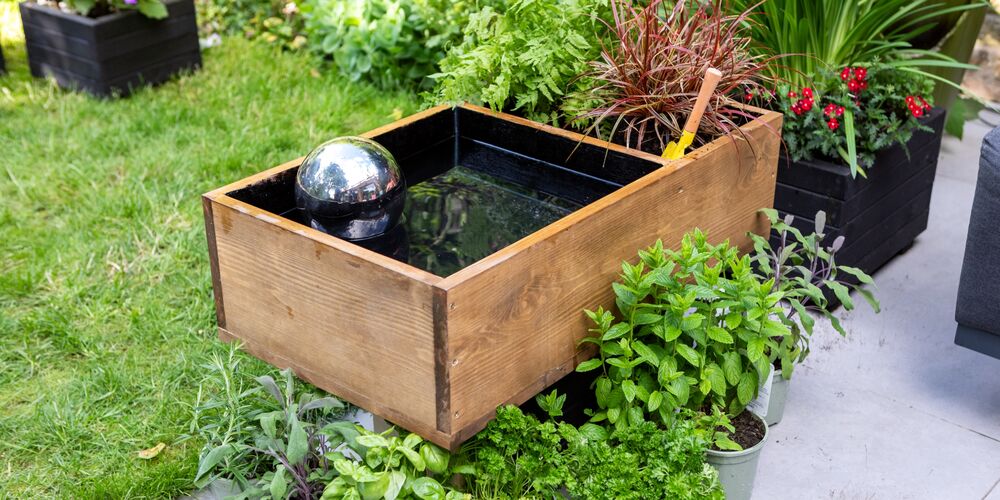
Mini Pond Planter
Difficulty: Intermediate
Liven up your outdoor space with our fun mini pond and planter project.
Important Safety Information
Safety comes first when undertaking any kind of DIY project. You should take all precautions to avoid harm or injury, and as such BLACK+DECKER® recommends the use of personal protective equipment when completing these tutorials, including; safety gloves, safety glasses, and a dust mask, where required. To reduce the risk of personal injury and property damage please read and follow all related product manufacturer instruction manuals and information, before performing any of the applications shown. BLACK+DECKER® is not responsible for any damage to property or injury to persons as a result of a failure to use the information provided with reasonable skill and care.