Outdoor Storage Unit
Difficulty: Advanced
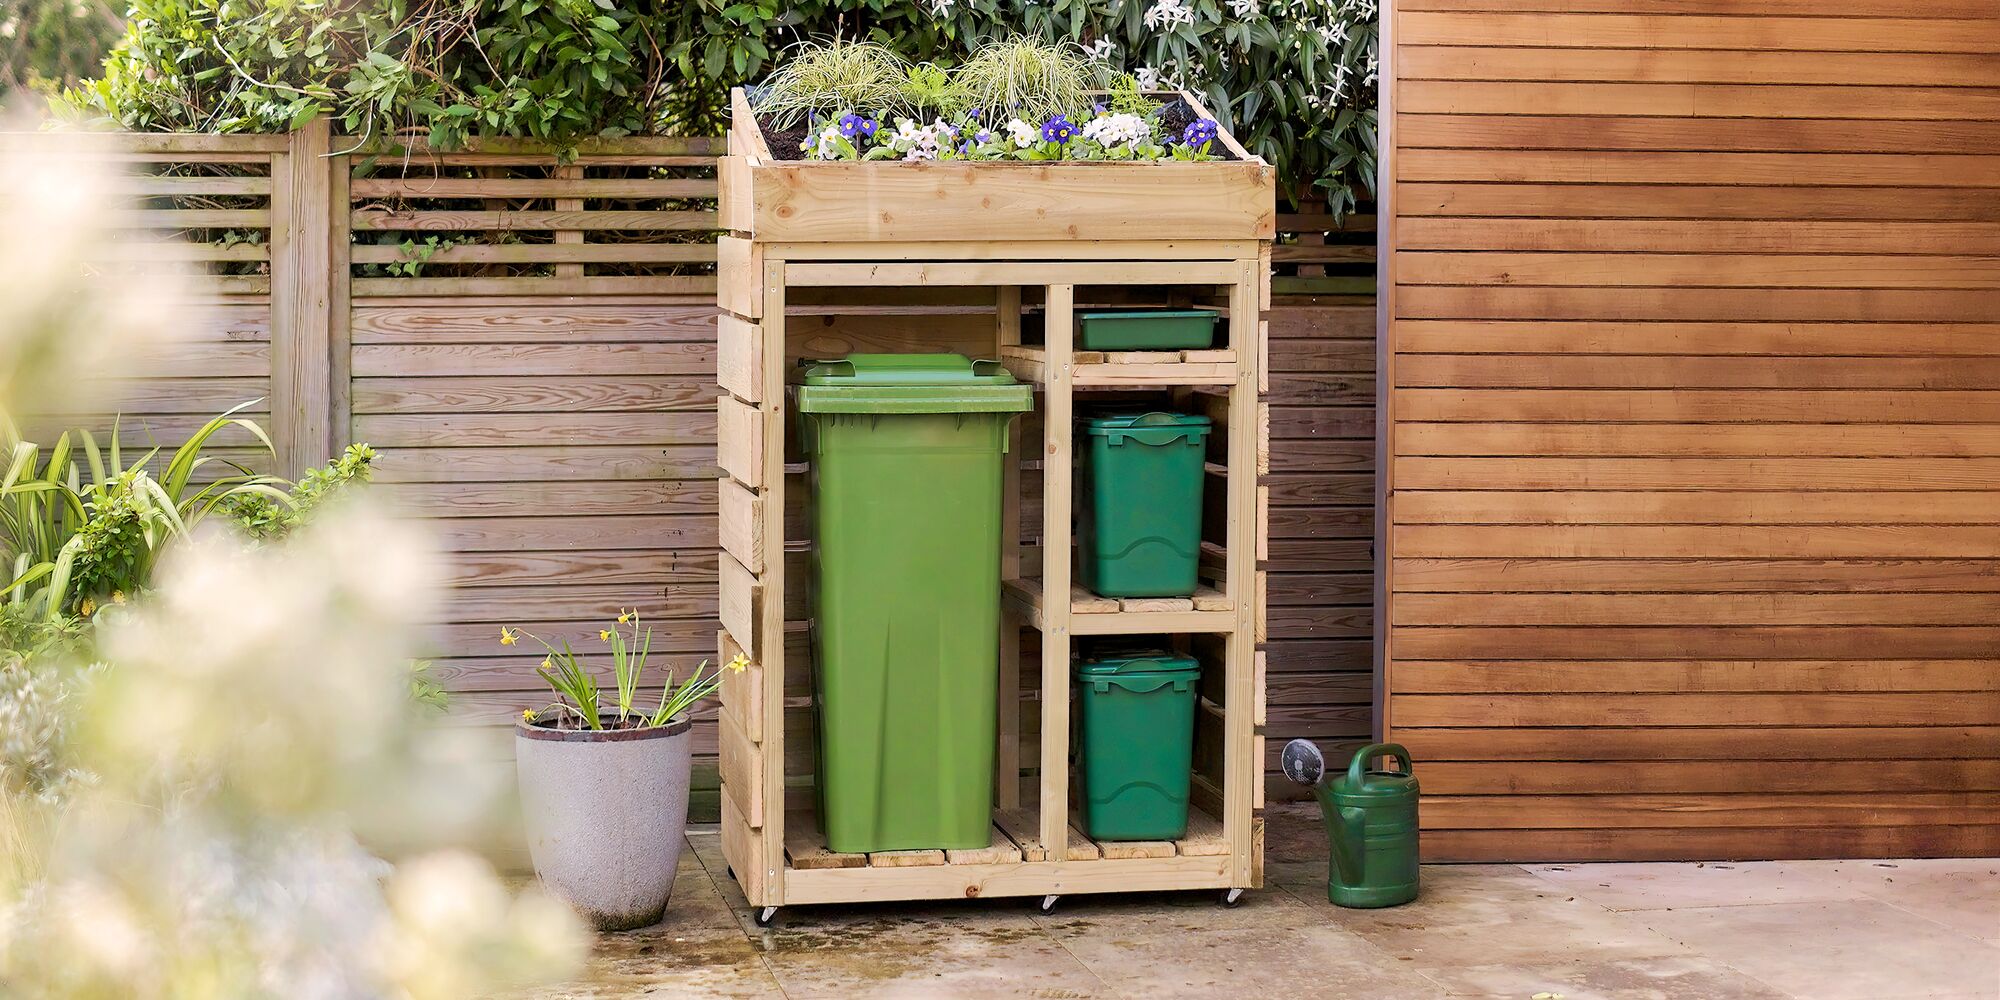
Create an attractive composting station and home for your outdoor clutter.
Recommended products
What you’ll need
- 75mm x 50mm (3x2 inch) treated timber planks
- 15mm x 125mm treated timber slats (or wood from old pallets)
- Thin plywood sheet
- 80mm timber screws
- 35mm nails (approximately)
- Wheels/feet blocks x6
- Planter liner
- Soil
- Plants
Step-by-step instructions
Prep
This project can be adapted to whatever items you want to store! Start by working out the proportions of your compartments. We used our tallest item - the bin - to determine the height of the frame and the width of the main compartment. Measuring along the longest edges of the bin, we added an extra 20 cm (10 cm either side) so we could easily remove it and added 25 cm above so the lid could be opened. To determine the depth of your frame, measure whichever of your items is deepest.
Use the same approach to work out the width of the shelving compartment. Compare the size of your items to find the widest, measure its longest edge and add 20 cm. You can add one or more shelves, using the heights of your objects to determine the space between them, adding 10 cm to each (or 20 cm if they have lids). You can increase the height of the frame if the combined heights of the items require it.


Use your measurements to determine the length of your planks, using the diagrams above for reference:
- Green: width plank (x4) - combined width of both compartments
- Pink: inner column (x2) - height measurement
- Red: outer column (x4) - height measurement plus the height x2 of your width planks
- Light blue: inner depth plank (x2) - depth measurement
- Blue: outer depth plank (x4) - depth measurement minus the overlap from the red planks
Cut the shelves and planter to length after building your frame to ensure they’re precise, but use your measurements as a rough guide for now. The shelves need four planks each, two following your compartment width measurement and two following the depth.
For the planter, you’ll need four slats:
- Two the length of your combined width measurement plus at least 6 cm to account for the inner column.
- Two following the depth measurement.
You’ll also need a plywood sheet for the base - again, cut this to size later.


Step 1 - Construct the frame
Once you’ve cut your timber to length, carefully mark out where your pilot holes will go. We used two screws for every joint to ensure the frame stays rigid. Use a drill driver to drill the pilot holes, making sure that no holes overlap so your screws won’t plough into each other!
Use your drill with a screwdriver bit to assemble the left and right sides (red and blue planks), then the base and roof (green and light blue planks). Screw these pieces together as if the unit is lying on its back, then attach the inner columns. Turn it upright, then measure, cut and secure your shelves and planter.
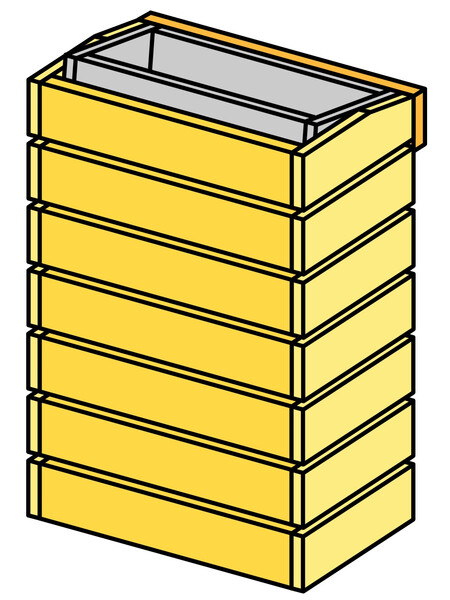
Make sure your planter is the same width as your frame and a few inches less deep to account for the tilt. Cut two identical wedges to create an angle of around 15 degrees, making the wedges as long as the base of the planter.

Drill four pilot holes for each wedge following the diagram above - two to connect to the base of the planter, two to connect to the top of the frame. If any of these are longer than the length of your screws, you can create a recess by using a drill bit wider than the screw head so the screw can go deeper into the wood.
Attach the wedges to the planter first, then secure to the frame, making sure the top front edge of the planter doesn’t extend over the front of the frame.


Step 2 - Cut side, back & base panels
For the side and back panels, measure the depth and width of your completed frame. For the side panels, we included the depth added by the back panels for a cleaner finish. Cut your slats to length using a circular saw. You’ll also want an extra panel for the front, to cover the front of the planter, including the side panels.
For the base panels for the floor and shelves, measure the depth of the frame. You might want to halve these slats length-ways to fit more evenly.


Step 3 - Attach panels to frame
Place your panels evenly along the frame, leaving a small gap for air flow, and use a nail gun to attach them. Remember to wear safety glasses and gloves when using a nail gun.
While the frame is on its side, add any wheels or wooden blocks to the base of the frame to lift it off the floor and protect against rain.
Put the frame upright and attach the floor and shelf panels.


Step 4 - Sand down rough edges
Use a sander to remove any rough edges. If your timber is untreated, add a protective varnish. We left our unit in its natural colour, but you can use a suitable wood stain or paint to create a different finish.


Step 5 - Line and fill your roof planter
Line your planter with a waterproof liner, fill with soil and add your plants.
Step 6 - Tidy up
Clean up any sawdust and soil, and you’re done! We’d recommend a blower for this.


